
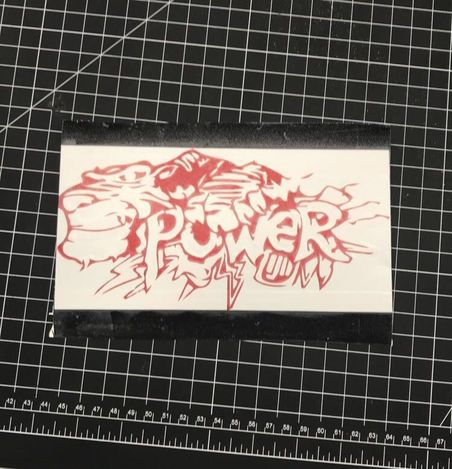
Using the vinyl cutter I was able to make this cool sticker. I used three colors of which include; Red, White, and black. In the pictures below I will explain to you the process I took to make the image to the left.
|
Step 1
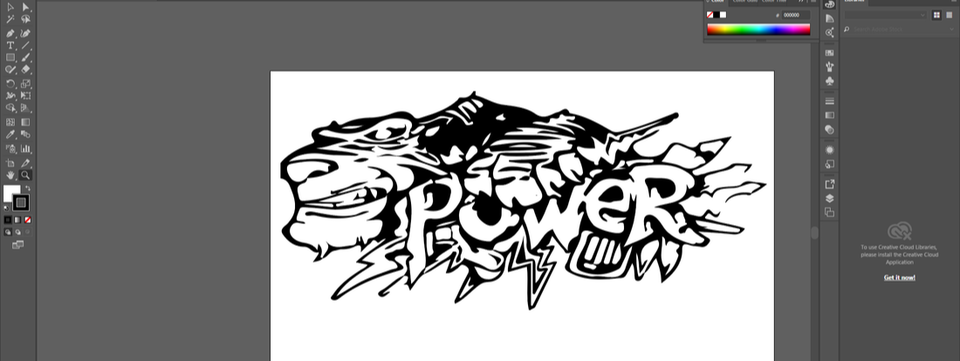
The First step is finding a image you want on google images. The image must be a black and white Clip art picture. Step 2 The next step in the process is to create the files. Insert the images into Illustrator and turn it into a Vector file. To do this, click File then new. search for you images and open then up. After they are open turn them into a vector file by hitting the trace image button on the top tool bar. 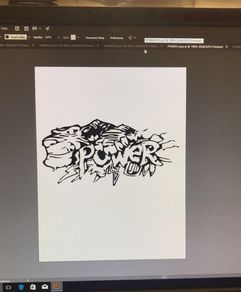
|
Step 3
Save the three files created onto a portable flash drive. Step 4 Bring the flash drive to the computer hooked up to the vinyl cutter. Once you insert the flash drive, open the three files up on illustrator. Step 5
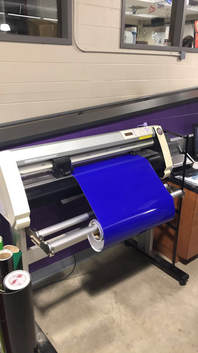
Pick the color you would like to use and connect it to the cutter. Make sure that the roll in secure and free from miss alignment. You are able to loosen and secure the vinyl by moving the purple handle up and down. This will loosen the clamps and tighten them. |
Step 6
Print on the computer and hit OK on the vinyl cutter. The vinyl cutter is the same as any other printer except for the fact that it cuts. Instead of hitting print hit scripts. This will tell the cutter what to cut. |
|
Step 7
Now that all of your three colors have been cut. Carefully peel off the outside edge of the vinyl. Take your time, because it is very hard to place the vinyl back onto the white paper after you have removed it.
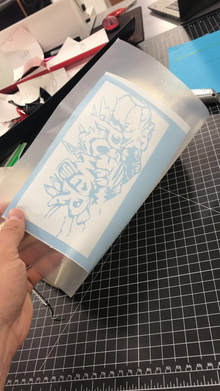
Step 8
Find the clear sticky tape called application tape. Place this on top of the vinyl and remove the bottom part.
Step 9
The final product is your sticker. After you layer on all the colors you should be done and able to apply it to any kind of surface.
Now that all of your three colors have been cut. Carefully peel off the outside edge of the vinyl. Take your time, because it is very hard to place the vinyl back onto the white paper after you have removed it.
Step 8
Find the clear sticky tape called application tape. Place this on top of the vinyl and remove the bottom part.
Step 9
The final product is your sticker. After you layer on all the colors you should be done and able to apply it to any kind of surface.
Final Product
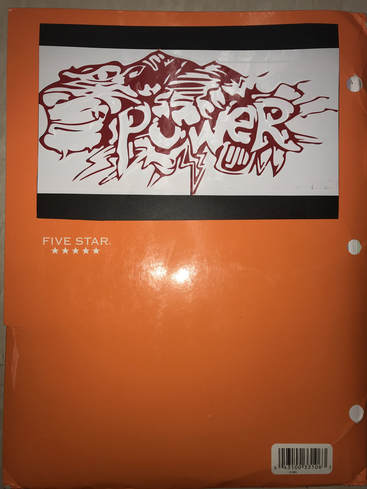
I decided to put my vinyl sticker on my math folder. This is the final product and I really think it turned out good.
