STep 1
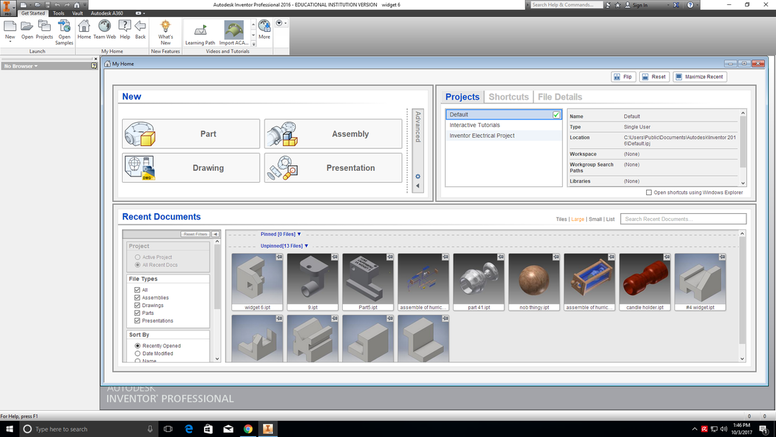
The first step in creating a widget on Inventor is by opening the software. When you open it this screen will open up. Hit the "Part" button.
Step 2
|
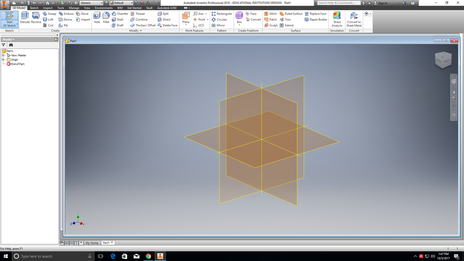
Next in the upper left hand of the screen click the button that says "start 2D sketch". The screen will then look like the picture to the right. Click on the X and Y plane.
|
|
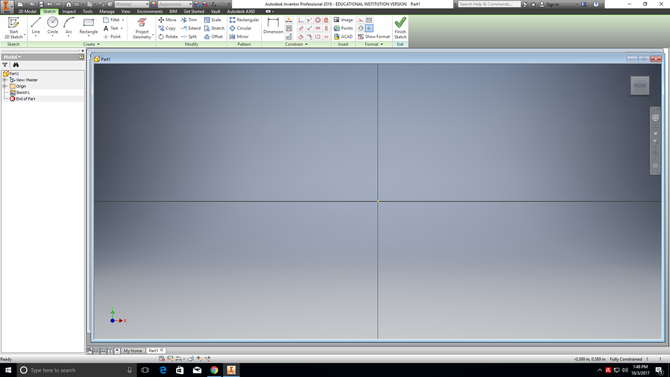
Step 3
Your screen will then look like the picture below.
Step 4
Using the line tool, draw the rough shape of your widget. Do NOT worry about its dimension. Those will be fixed in the next step.
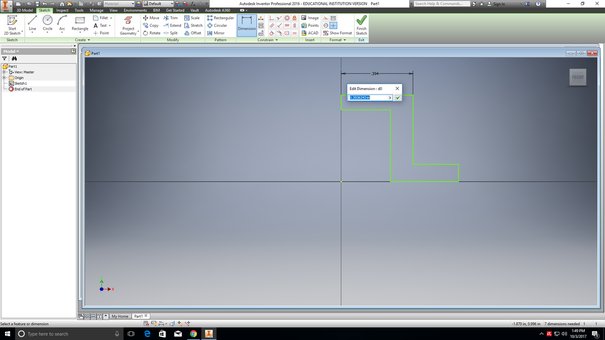
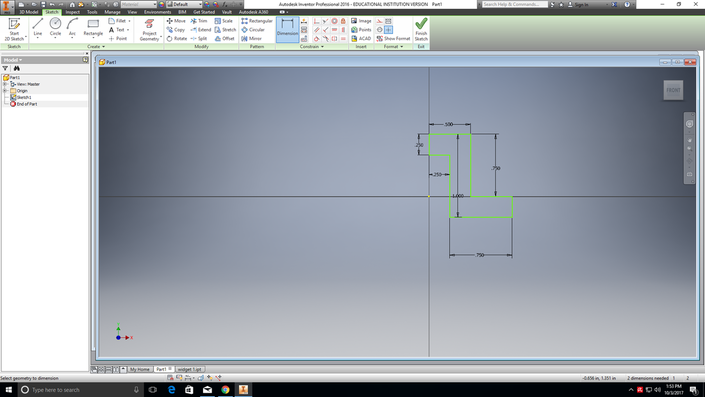
Step 5
Click on the dimension button that is highlighted below. Then click on each line and type in the dimensions that are needed. Hit enter to change it.
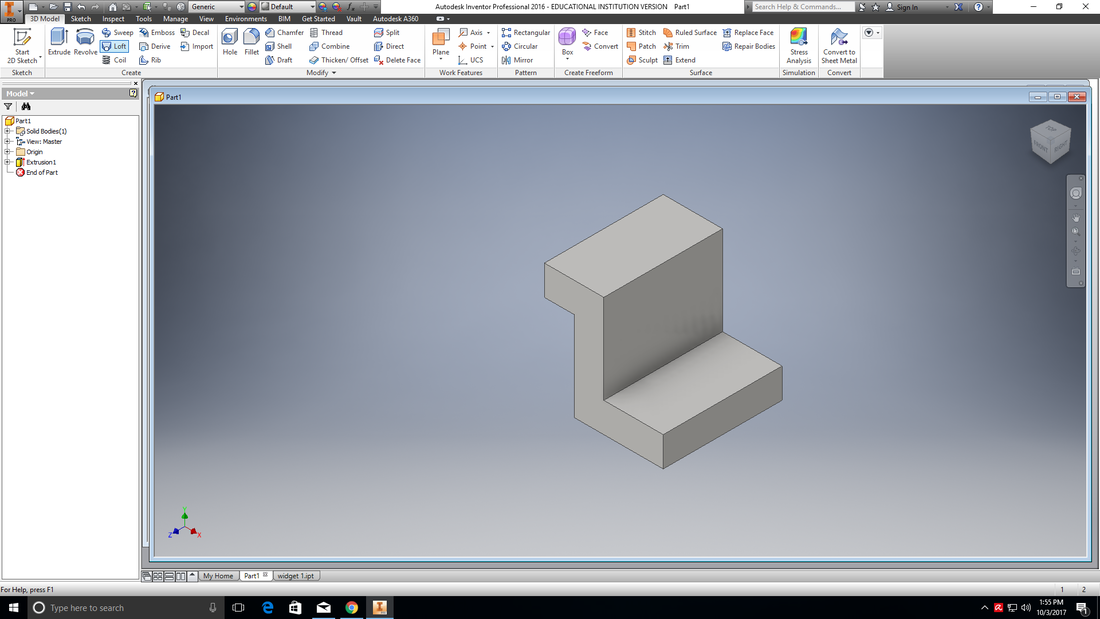
Step 6
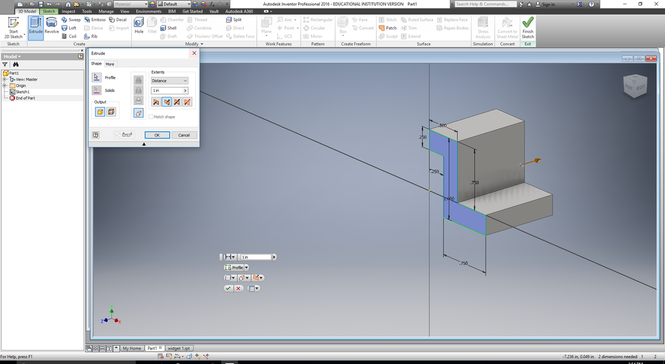
The 6th step to this process is to go to were it says "3D model". After you click that button click the second button that says extrude. A box will appear like the one shown in the picture to the right. Extrude the distance to scale and hit OK.
Final Product